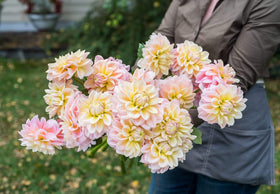


When it comes to conventional farming wisdom on ways to remove mold, the word “crazy” springs to mind. That is how I felt the first year that I grew dahlias, when a horrendous mold hit and I lost half my crop. I was completely devastated, and I frantically began searching for a solution within the farming community.
That is when I discovered the true feeling of Rita Mae Brown’s definition of “insanity”: “… doing the same thing, over and over again, but expecting different results.”
In the farming world, the conventional way to rid oneself of mold is an ongoing process utilizing the same unworkable methods. While there may be a positive temporary result, sadly, these methods fail over the long term. I found one that works and want to share it with you.
The very definition of charming, mold is a growth of minute fungi that usually goes hand in hand with decay or dampness. This is not a pretty story—nothing involving mold is—but it’s one that I need to tell.
When my crop was hit, I read everything and spoke with anyone who knew something about mold and gamely gave each farmer’s recommendation a go, systematically blowing through each technique.
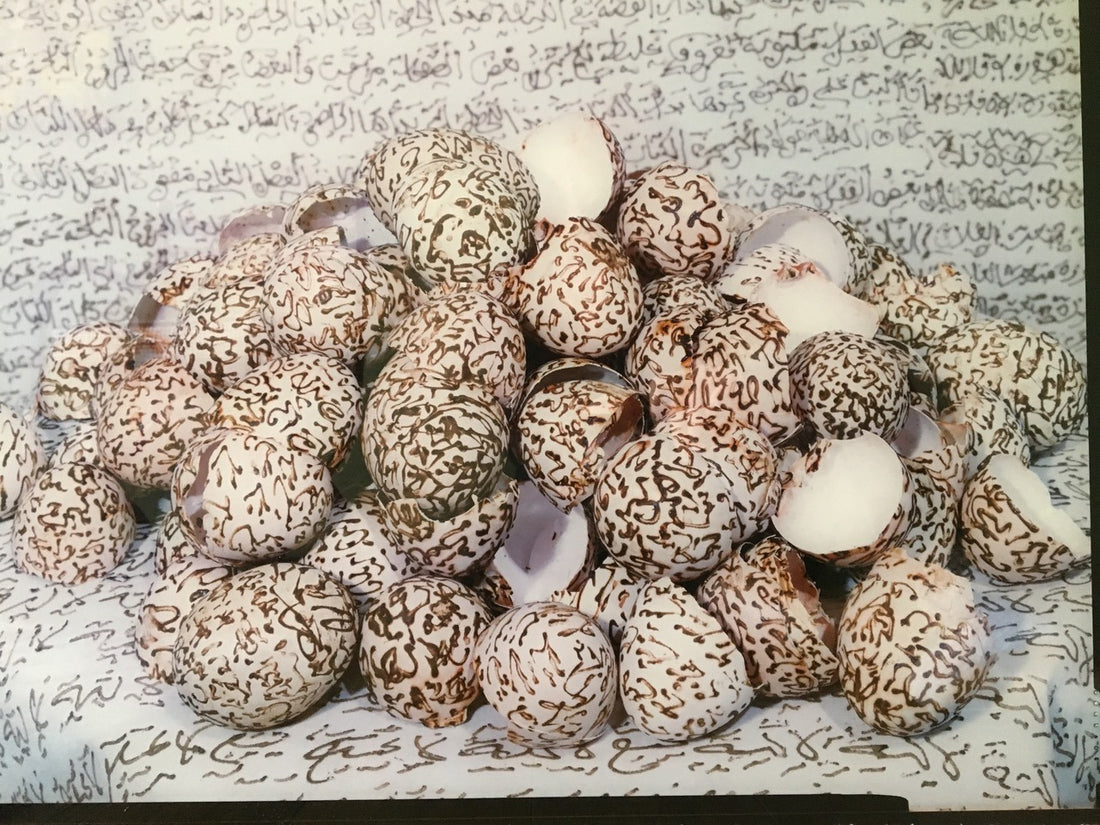
I heard that bleach might offer a solution. In cold climates, gardeners must dig up dahlias in fall and store them throughout winter. Mold can grow on dahlia bulbs (technically called tubers) that are stored in damp places. After slicing off rot, I mixed a solution of 10 percent bleach and 90 percent water in a bowl. I dipped the tubers in the mixture then laid them flat on newspaper to dry. I buried the dry tubers in a paper bag filled with sawdust and closed the bag. I placed the bags in empty milk crates. The fundamental flaw in this system (which I didn’t yet know at that time) is that dahlias simply are not porous, thus bleach cannot penetrate the mold spores below the surface. Sure, the mold on top is removed, but if your room conditions are not perfect, the mold will very likely return.
Next, I concocted a mixture of Lysol and water. This Lysol mixture failed for the same reason –that tubers are not porous. And a spray of a commercial anti-fungal treatment flamed out as well. Ubiquitous mold, ever the obnoxious houseguest who drinks the last of the wine and uncannily morphs into an extension of the living room sofa, continues to grow beneath the surface.
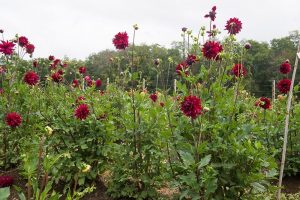
After that last no-dice technique, I mulled over the most troubling concept of all: a farmer has no defense whatsoever against mold over a long winter. Mold is essentially the cockroach of the fungus world. I might as well set up mold with its own zip code in the middle of our dahlias field.
Giving up. This is not who we are at this farm. Nor did I want to further spin our wheels and crazily delve deeper into unproven folklore or unsatisfactory outcomes that might drive us further into the red.
I decided to return to my roots. Here at Bear Creek Farm we often end up doing things differently, and our handling of mold is no exception. I studied the flower business through the lens of a different industry. I am comfortable there. That’s who we are. We are business folks who farm, rather than farmers who follow traditional agriculture techniques. While I’m not one to self-promote, there is a piece of applicable wisdom in a chapter of my book. I write about the helpful borrowing from other industries to strengthen one’s own. (My book is Red Thread Thinking: Weaving Together Connections for Brilliant Ideas and Profitable Innovation.)
I put that broader philosophy to work by bringing in mold hygienists. A mold hygienist is a specialist who takes air and surface samples and examines them from a scientific perspective. They are experts in disaster restoration for real estate hit by extreme fire and water damage. My giant dahlias for sale are certainly critical property to me.
The mold hygienist taught us the essential information that dahlias are not porous. We learned that when we wash and cut them, we should use HEPA (High Efficiency Particulate Air) filters to take mold spores out of the air. Then if there is mold, use white vinegar, which penetrates and removes roughly 85 percent of mold. Lightly brush this on. Do not dunk and generally avoid the eyes. Finally, we use a 10 percent baking soda and 90 percent water solution to finish the job.
The proper conditions for storage are a temperature of 40 to 50 degrees and 90 percent humidity. Obviously, homeowners can’t always achieve this; you just want to ensure that they’re kept cool enough, without freezing or drying out. Air is the enemy of drying out, so if they are packed in slightly dampened peat moss or sawdust (watch this, as too much moisture causes rot), they will do just fine. Avoid plastic bags as they can cause too much moisture.
For farmers: you can eliminate mold before it starts with HEPA filters! Home gardeners probably don’t need a HEPA filter because you don’t have a lot of tubers that are being washed simultaneously. But for both growers and homeowners, if mold appears then use vinegar and baking soda.
It is as simple and lovely as that.
Photo credit: Lalla-Essaydi
Now that you've finished reading this article, you should check out our tulip planting primer, dahlia growing guide, and cutting guide for dahlias. And if you're shopping for dahlia tubers, make sure to check out our giant dahlia tubers (10"+ blooms), micro dahlia tubers (under 2" blooms), dark pink dahlia tubers, dark red dahlia tubers, and bicolor dahlia tubers.
Great 👍 Article Thankyou
Thank you !
Thanks for the info.
We learn every year and this year the tubers got mold and we used this method to save what remained. Thank you!
This winter many of my tubers were rotting, and I found this post. I threw out the bad ones, and applied the vinegar then baking soda wash on the remaining. And now in April, 100% of my tubers survived and look great! Yay! I did wrap mine in plastic wrap because that’s what I’ve always done with good success (until this year! ) but perhaps this coming winter I’ll try the wood chips. I live in a very do climate though….